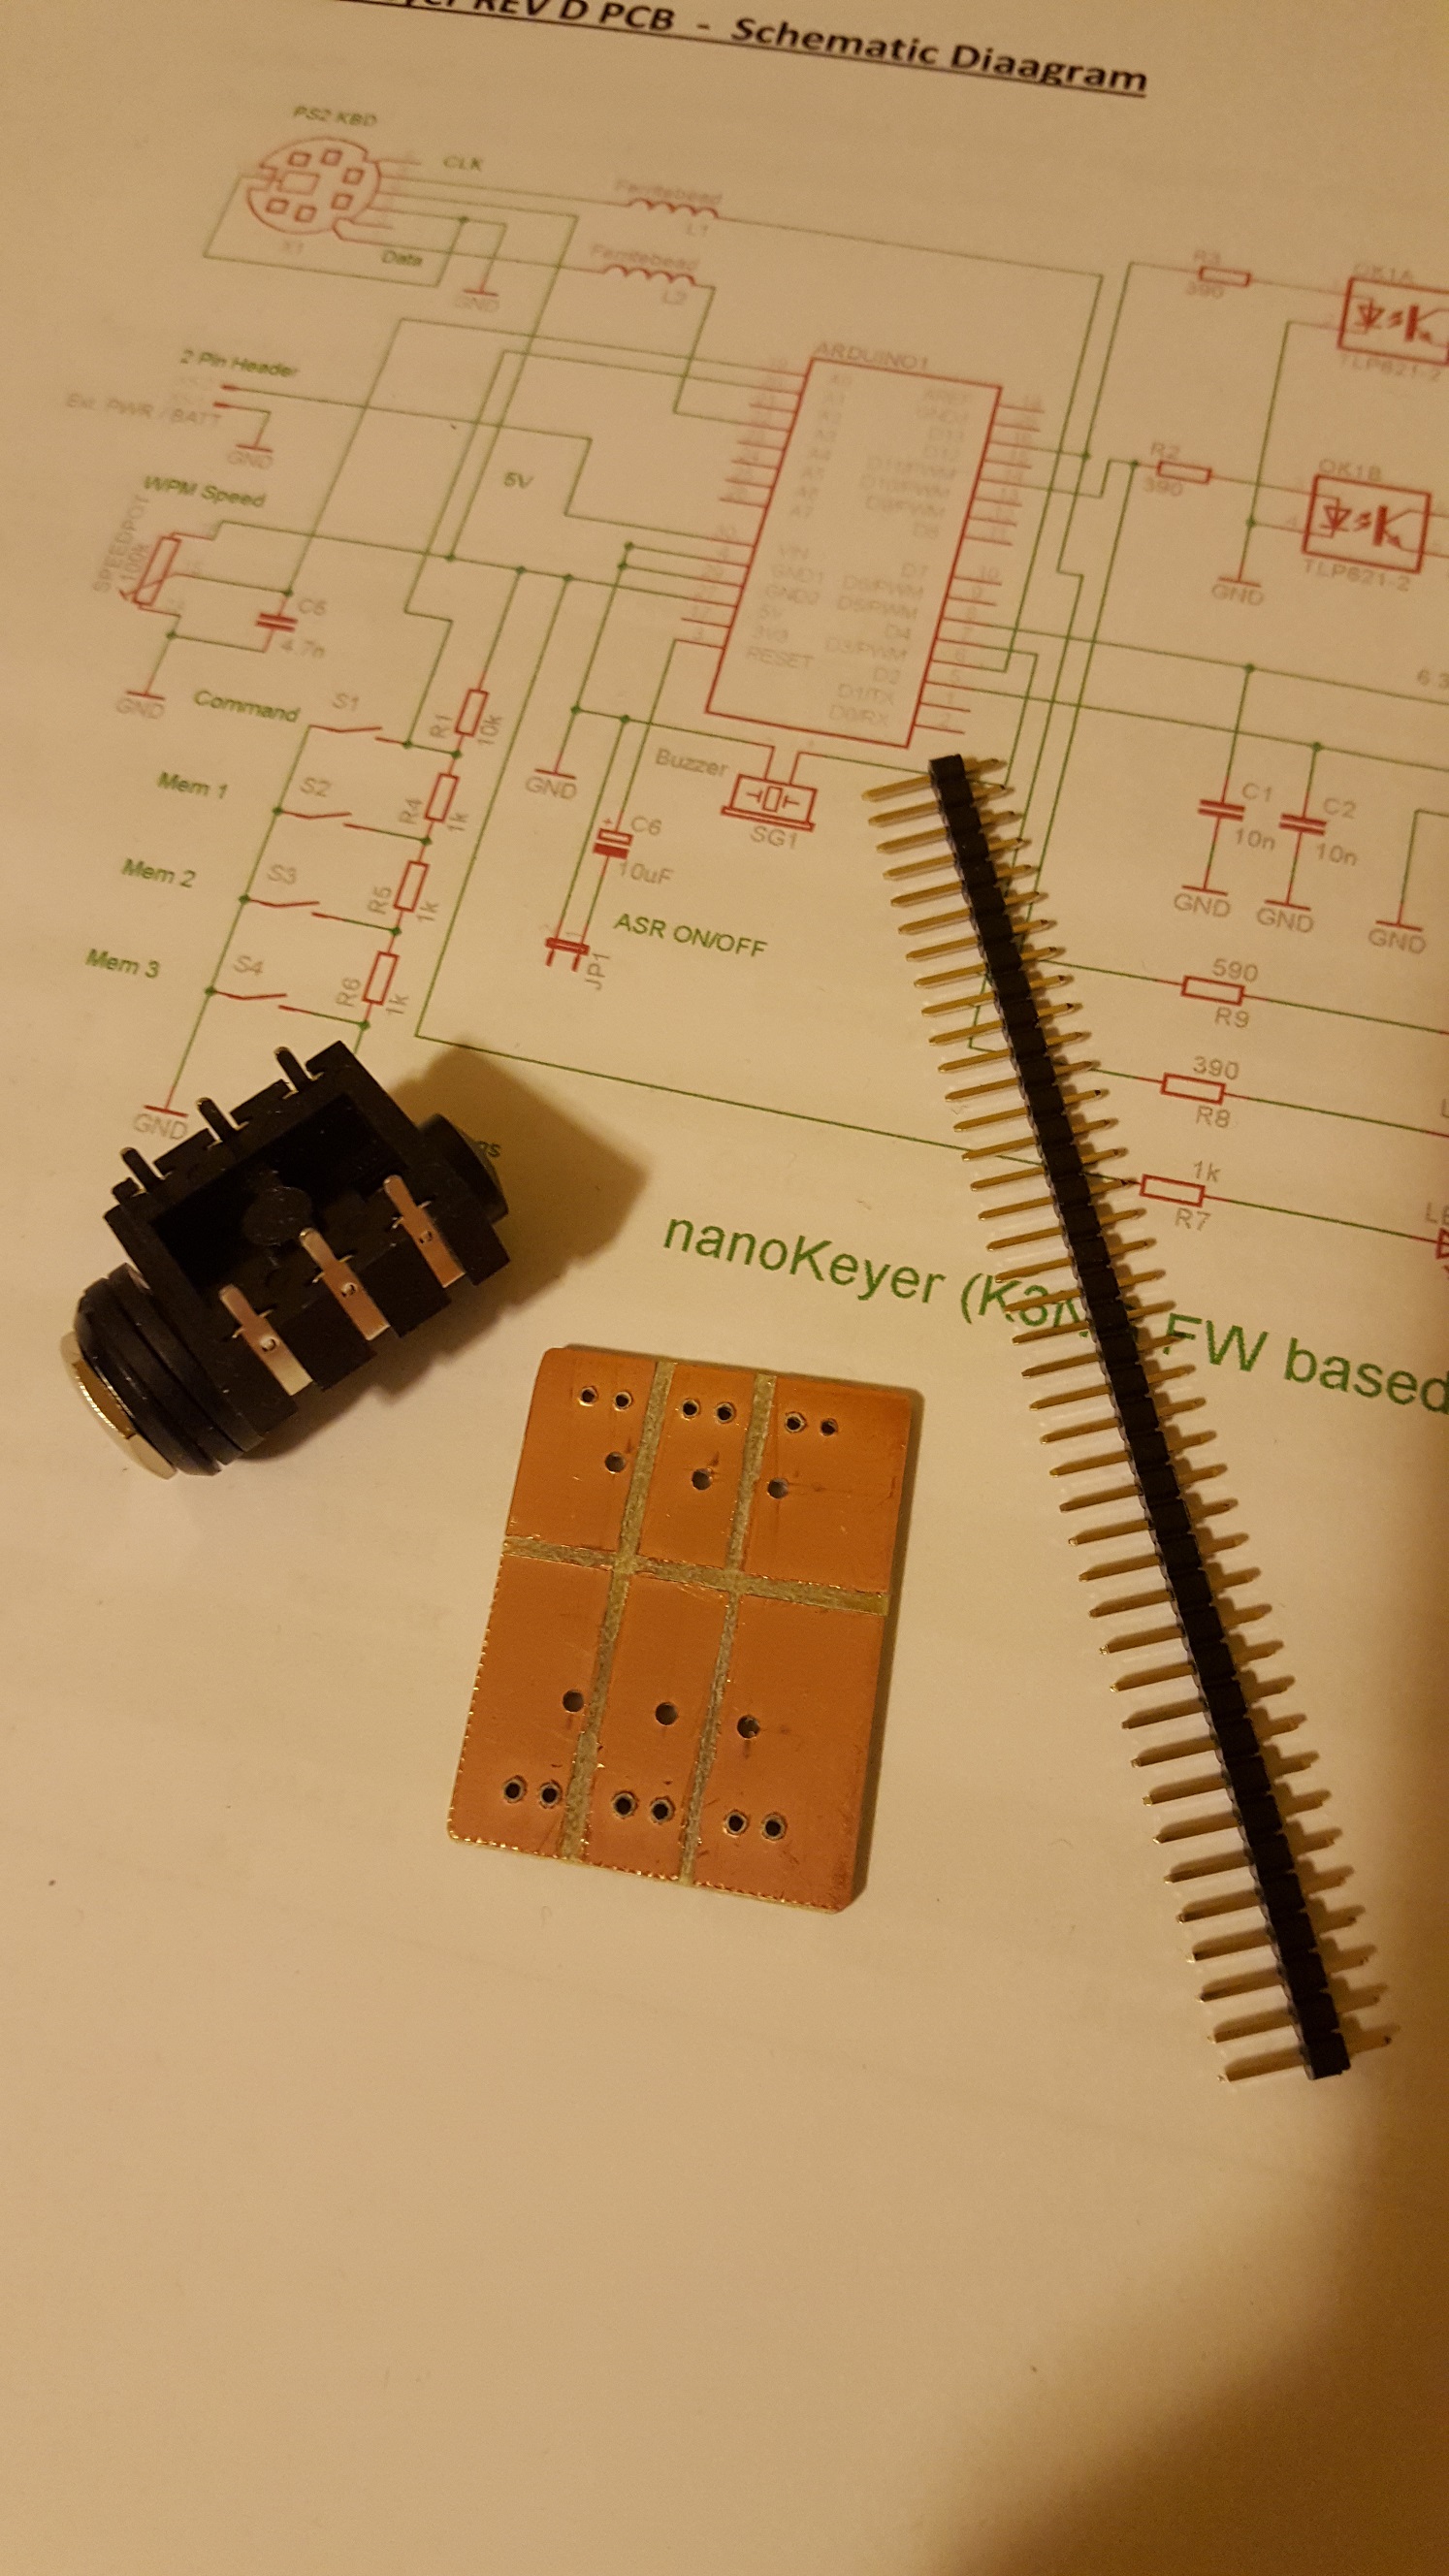
This keyer was purely exploratory. I came across the NanoKeyer website, looked at the schematics and build this very simplistic keyer. I quickly discovered the potential of such a keyer in the aid to learn Morse code.

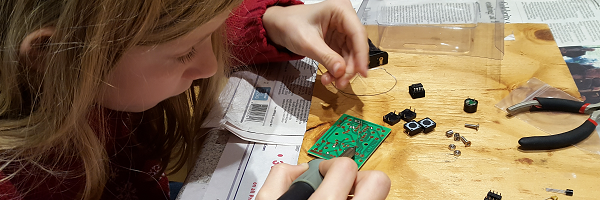
To learn Morse code I primarily wanted to see what characters I'm sending, kind of like a coach that tells me when I'm doing it wrong. For that something more permanent than sa breadboard build was necessary. The pin spacing of the jacks didn't fit the spacing of the prototyping board so I had to be a bit inventive.
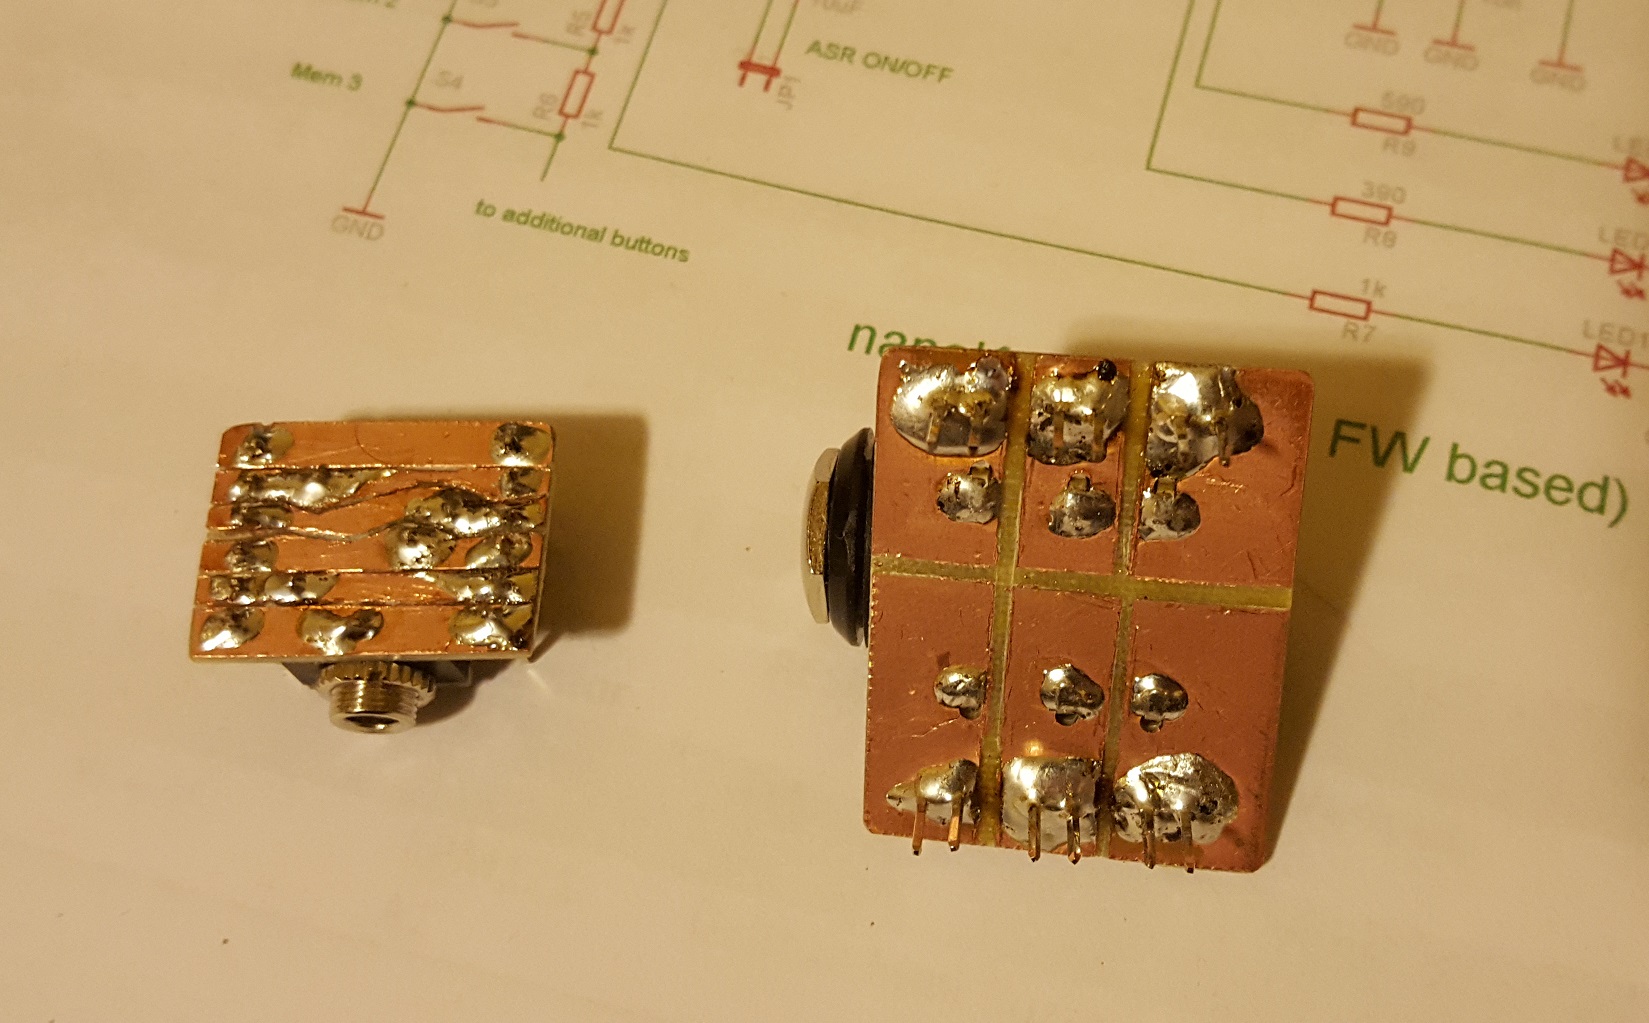
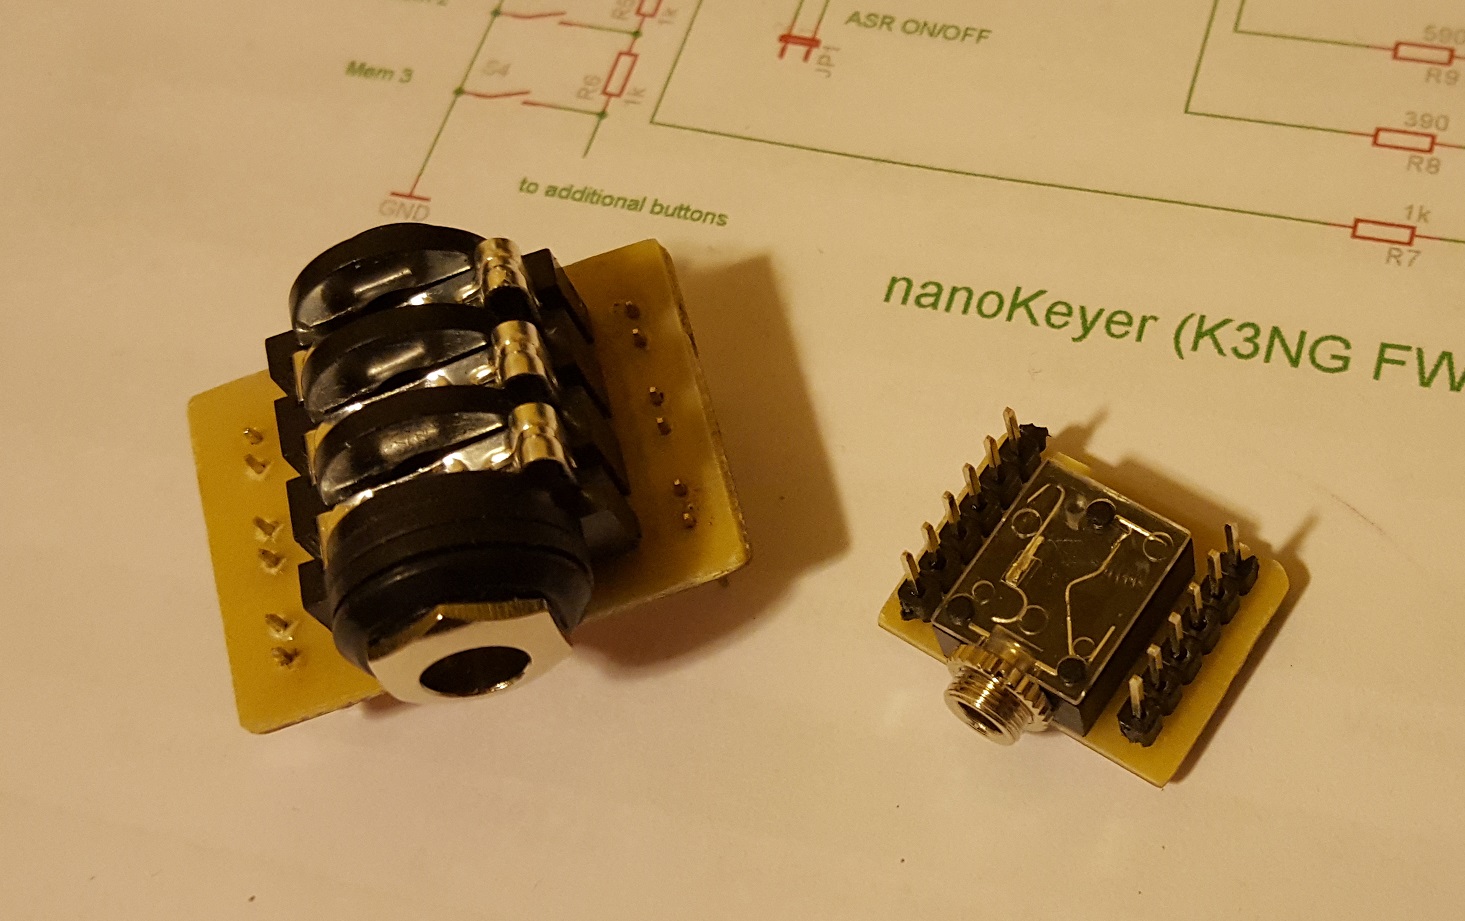
I wanted to make another keyer as simple as possible for my CW Academy buddy. This time I had a 3.5mm jack that fits the spacing. For the 6.3mm jack I bent the middle pins so that they would not have to go through the board but instead are held in place with a wire bridge soldered on. This worked out quite well. The strip-board also simplified the wiring I had to do.
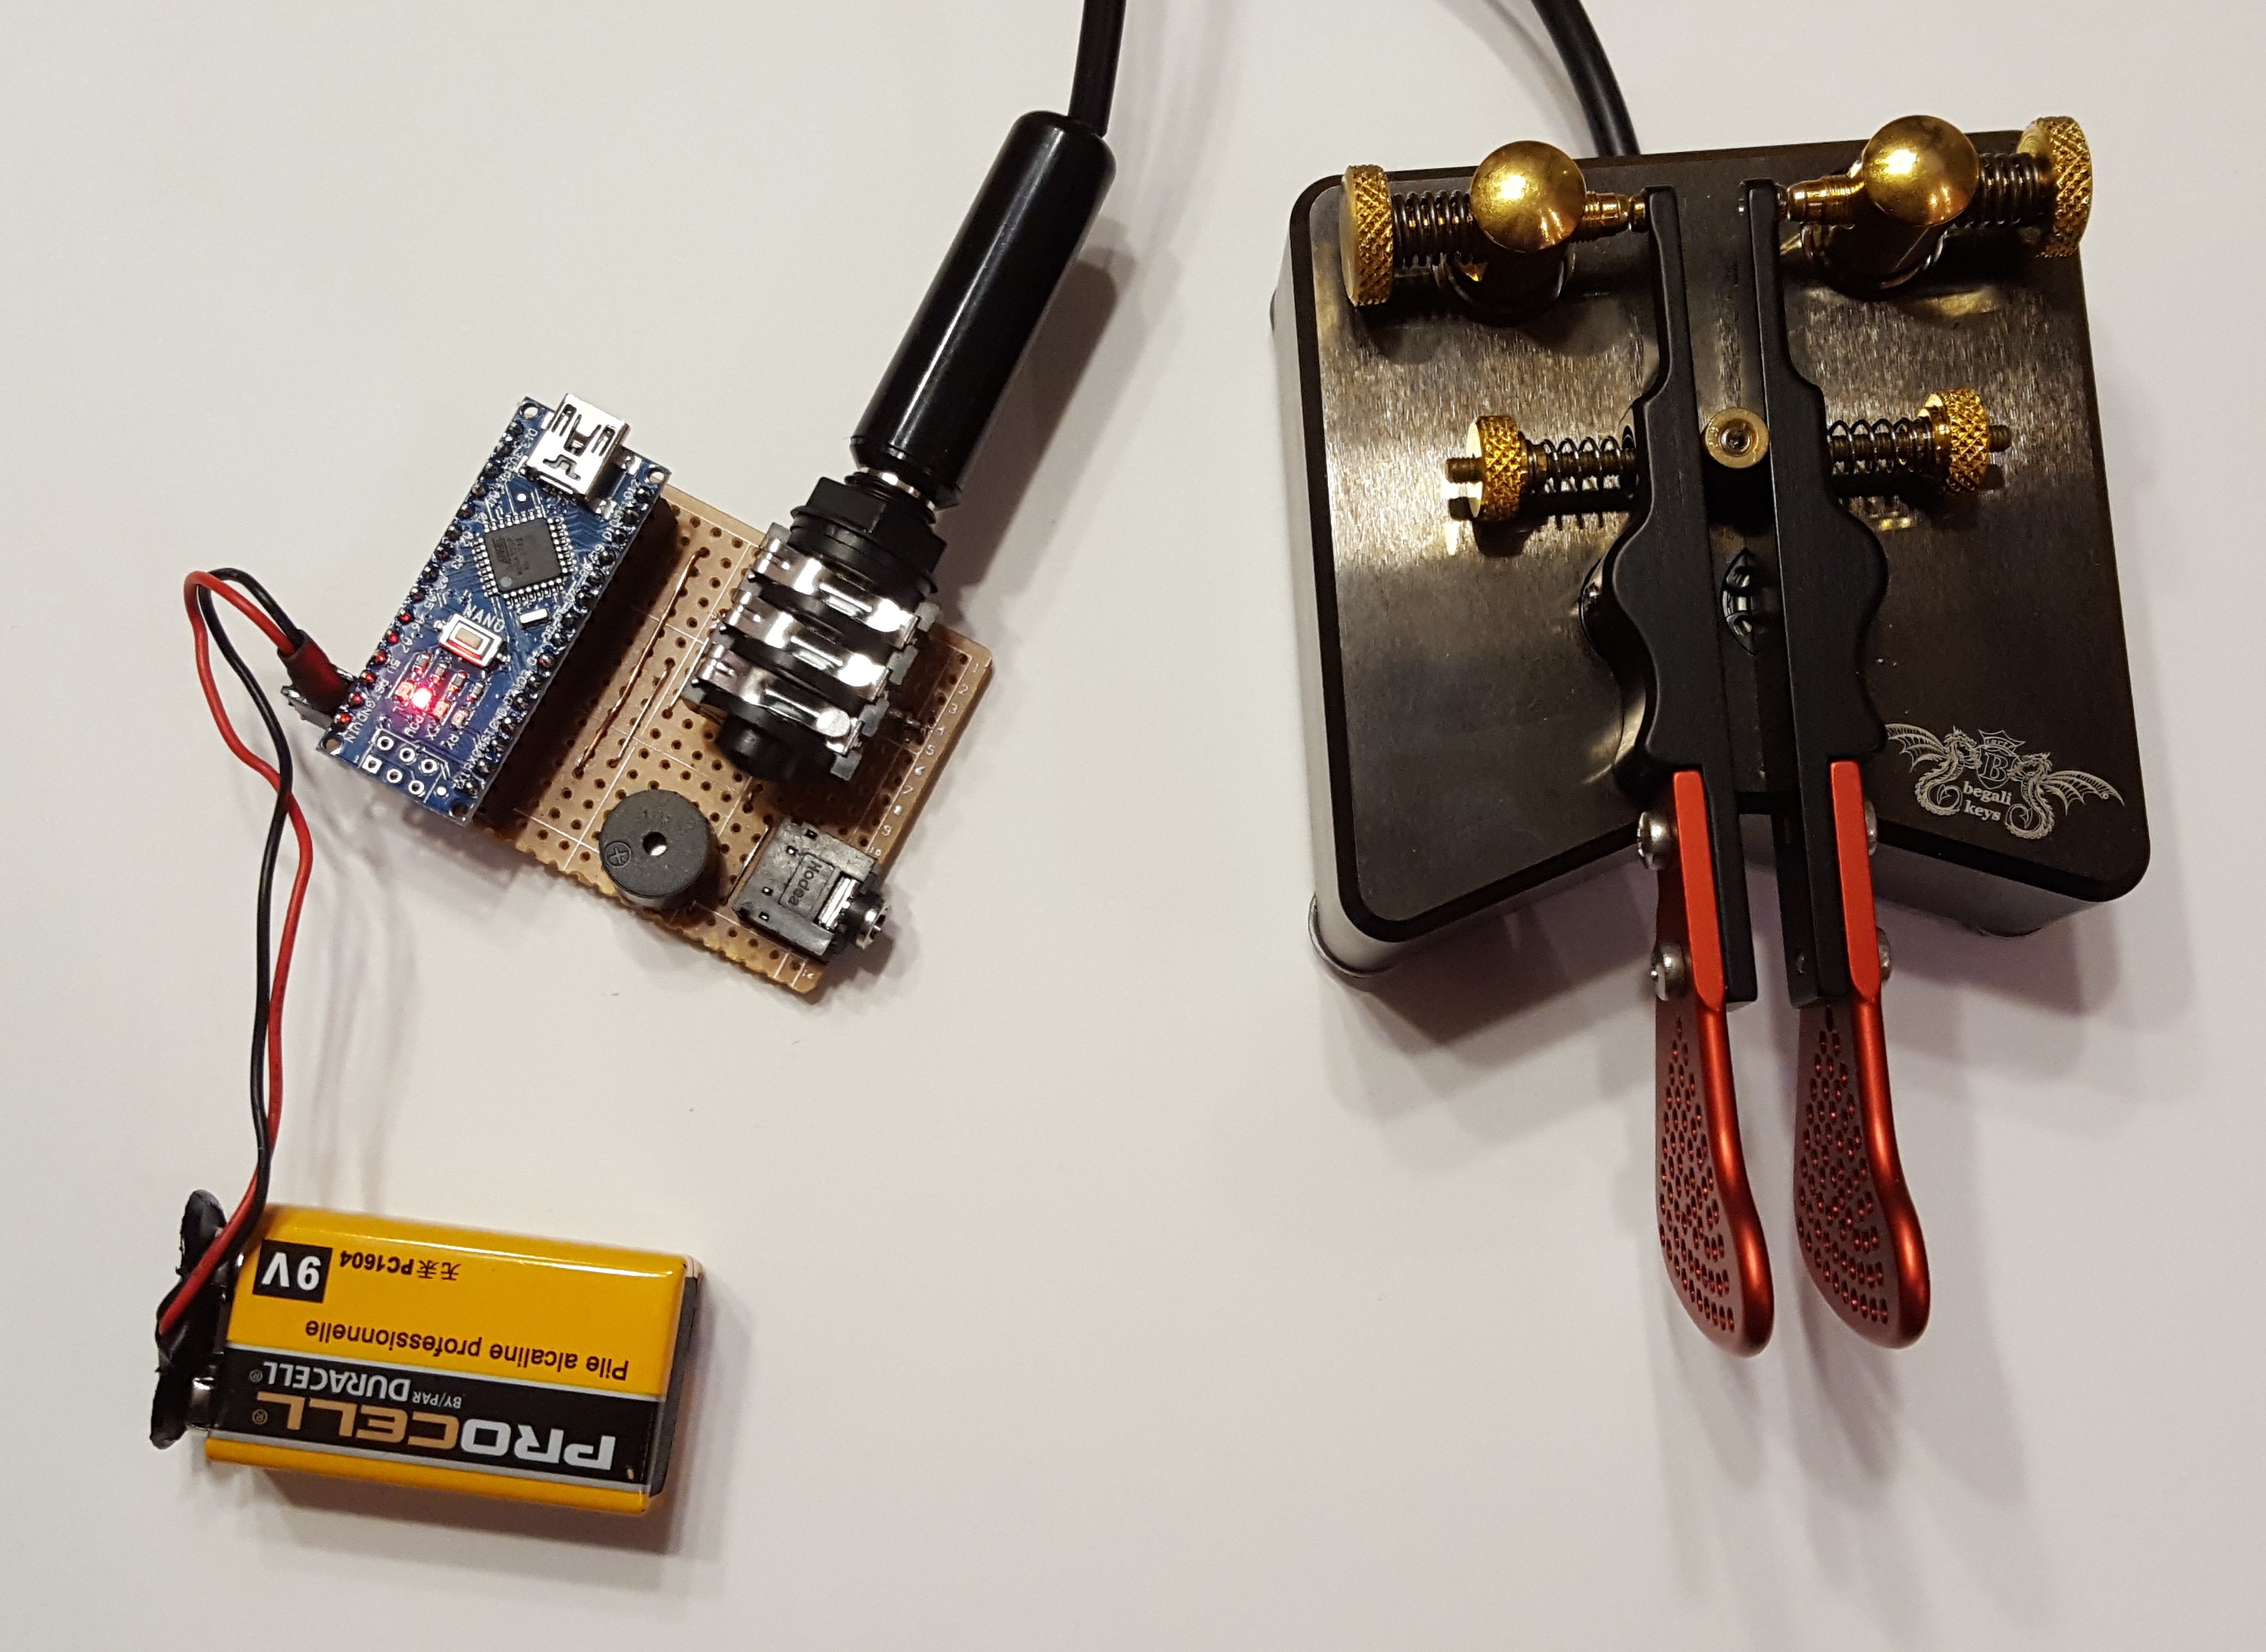
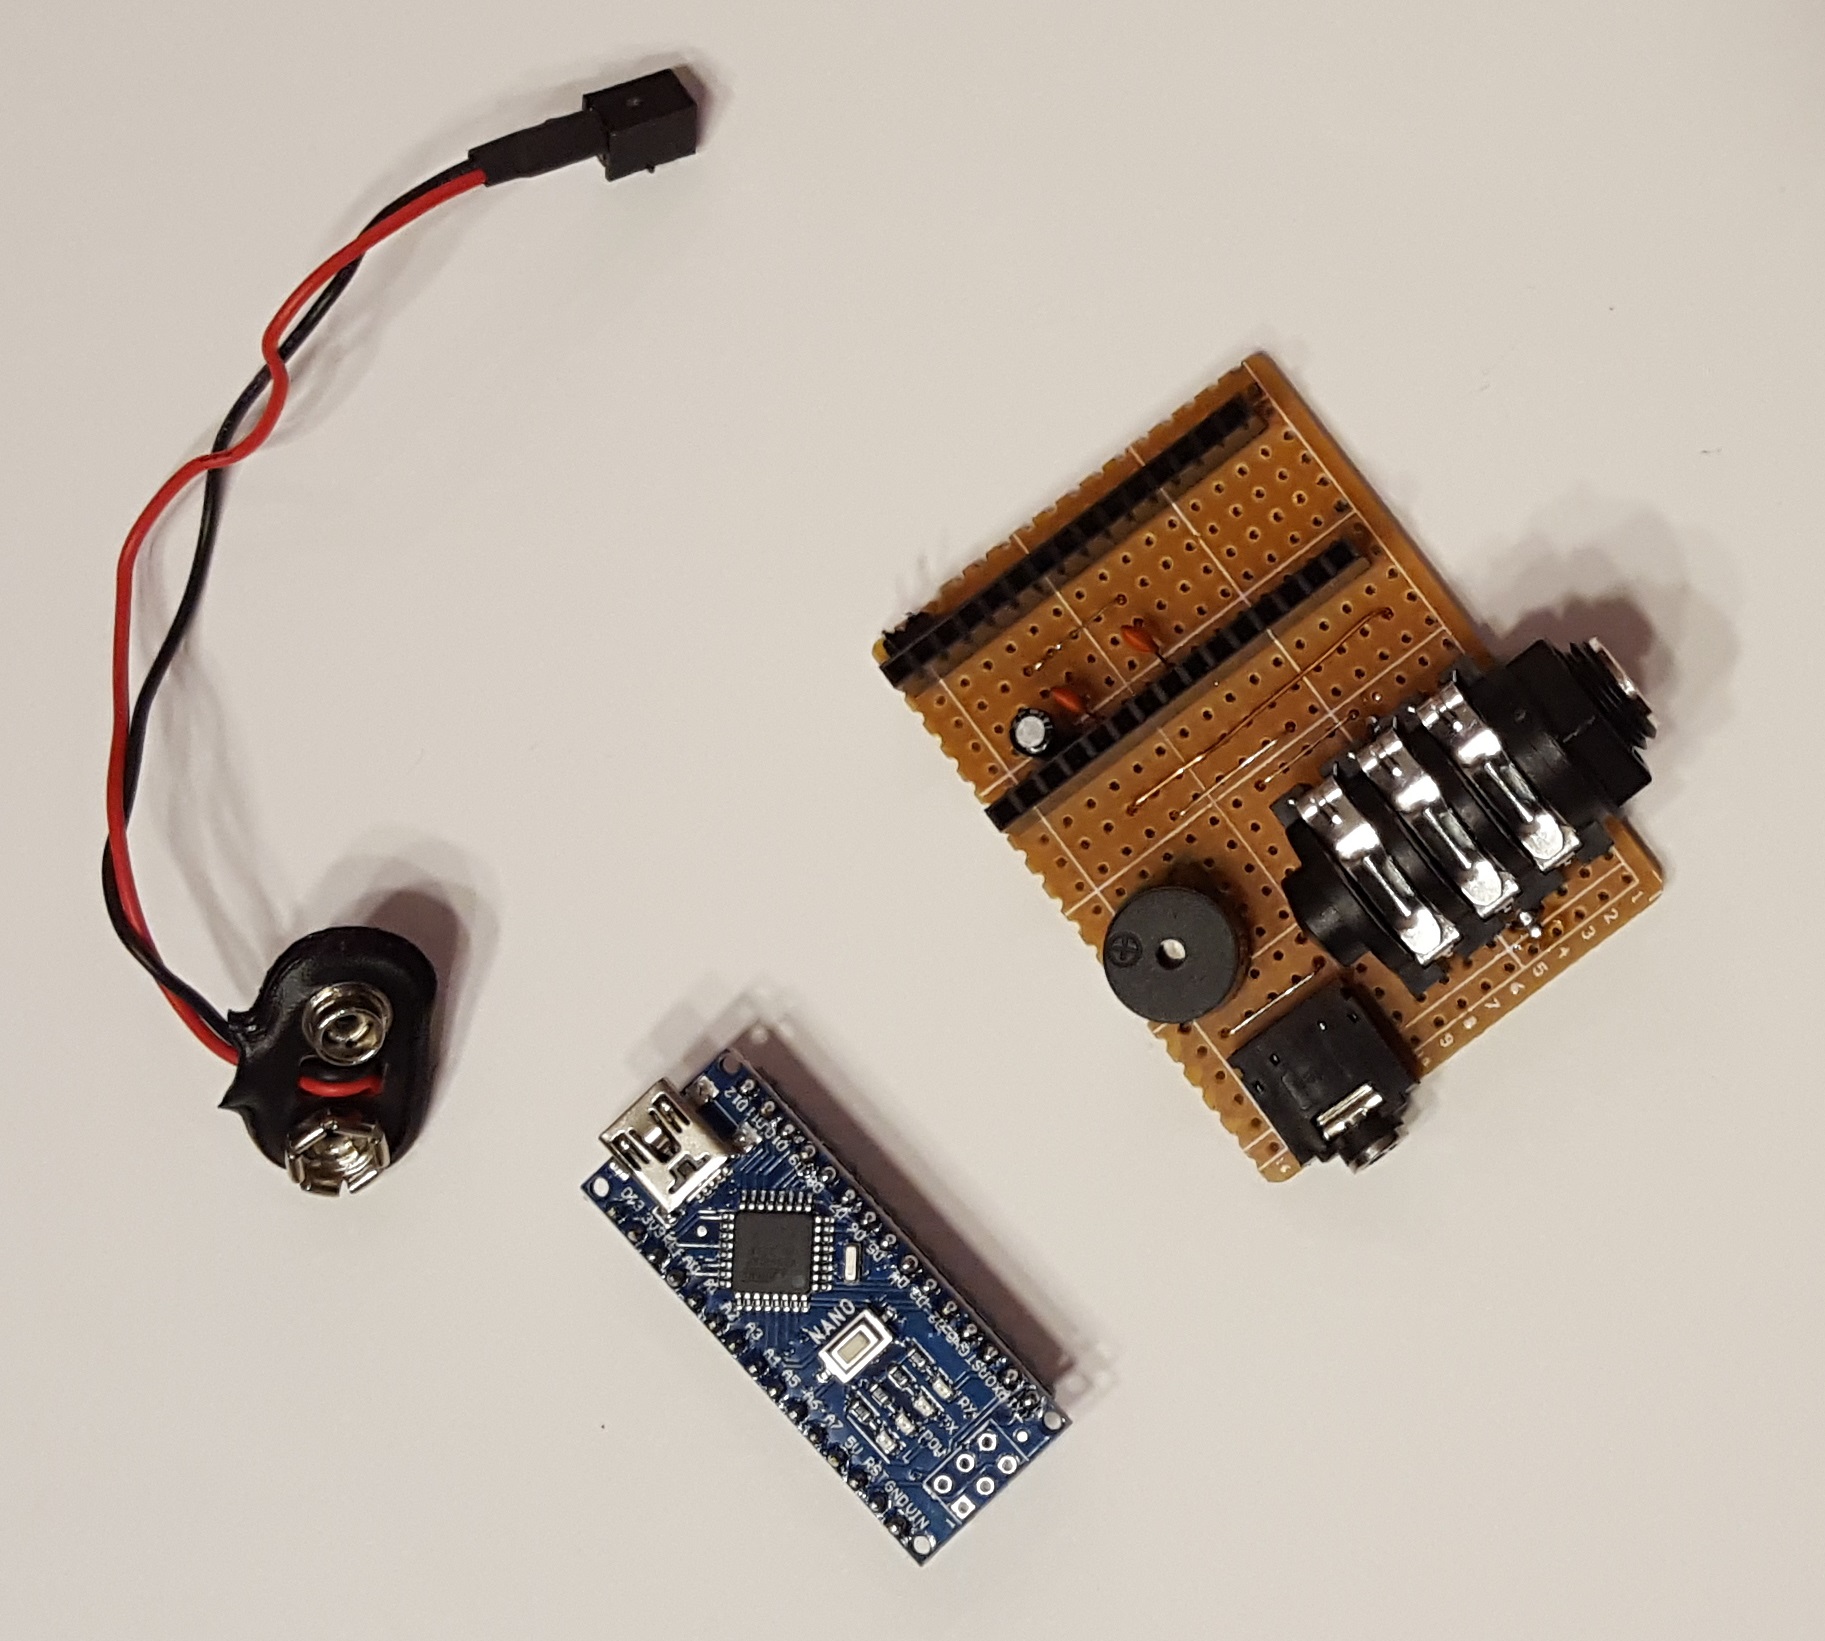
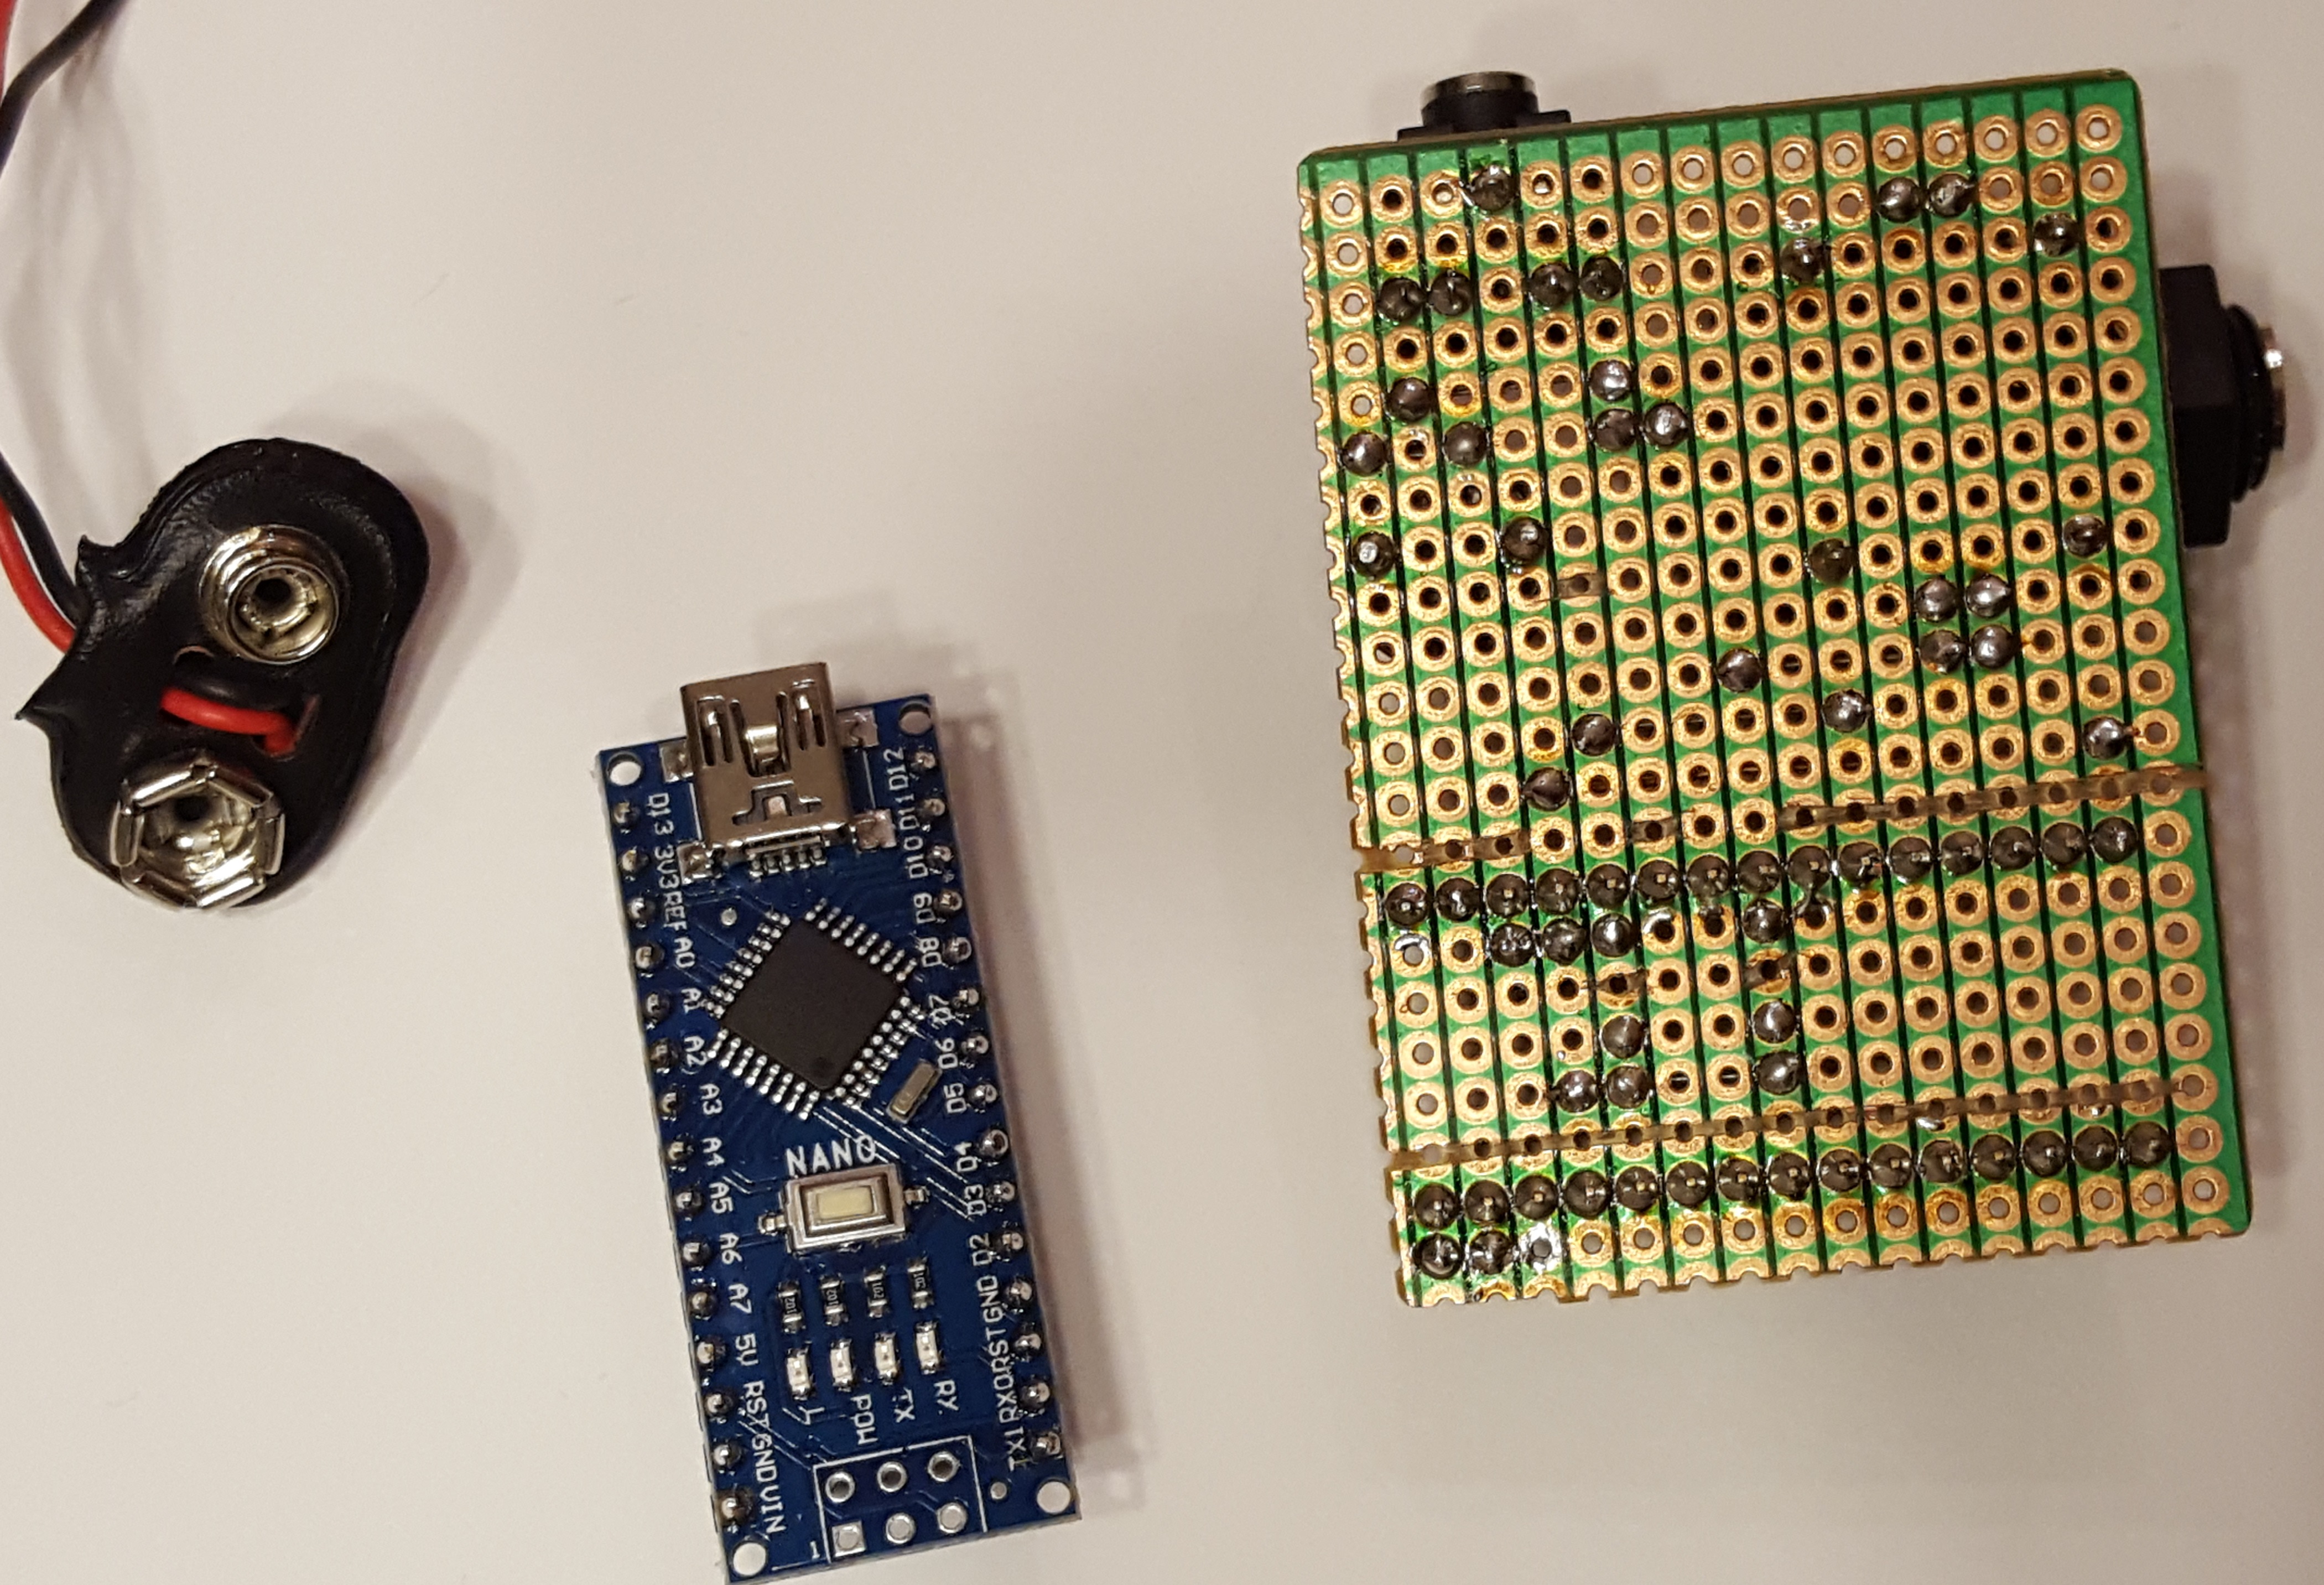
The ArduinoNano is the core/brain of the keyer. It is attached to the board via two 15 pin female headers. This is done so that the Nano could easily be used for other purposed. I added a 10uF electrolytic capacitor (C1) from the reset pin to ground. This prevents accidental programming while the Arduino Nano is in the keyer board.
The two pin header allows for external power. This is completely optional and allows the keyer to be used without a computer. 7 to 12 Volts can be used. I used a 2x2 female header for the 9V battery connector. This prevents from switching the polarity by accident.
The 6.3mm stereo jack is used to connect a straight key or iambic paddle. The two 10nF capacitors (C2, C3) smooths out the electrical signal from the key.
The 3.5mm switched stereo jack allows to use active speakers. Active speakers sound quite a bit better than the build in piezo buzzer. However, the build in speaker is nice to have. Be sure to use a passive piezo buzzer as the Arduino will generate the proper frequency for it. Using an active buzzer will sound horrid and frequency adjustments of the keyer won't really work.
Arduino Practice keyer Stripboard Layout v3.pdf
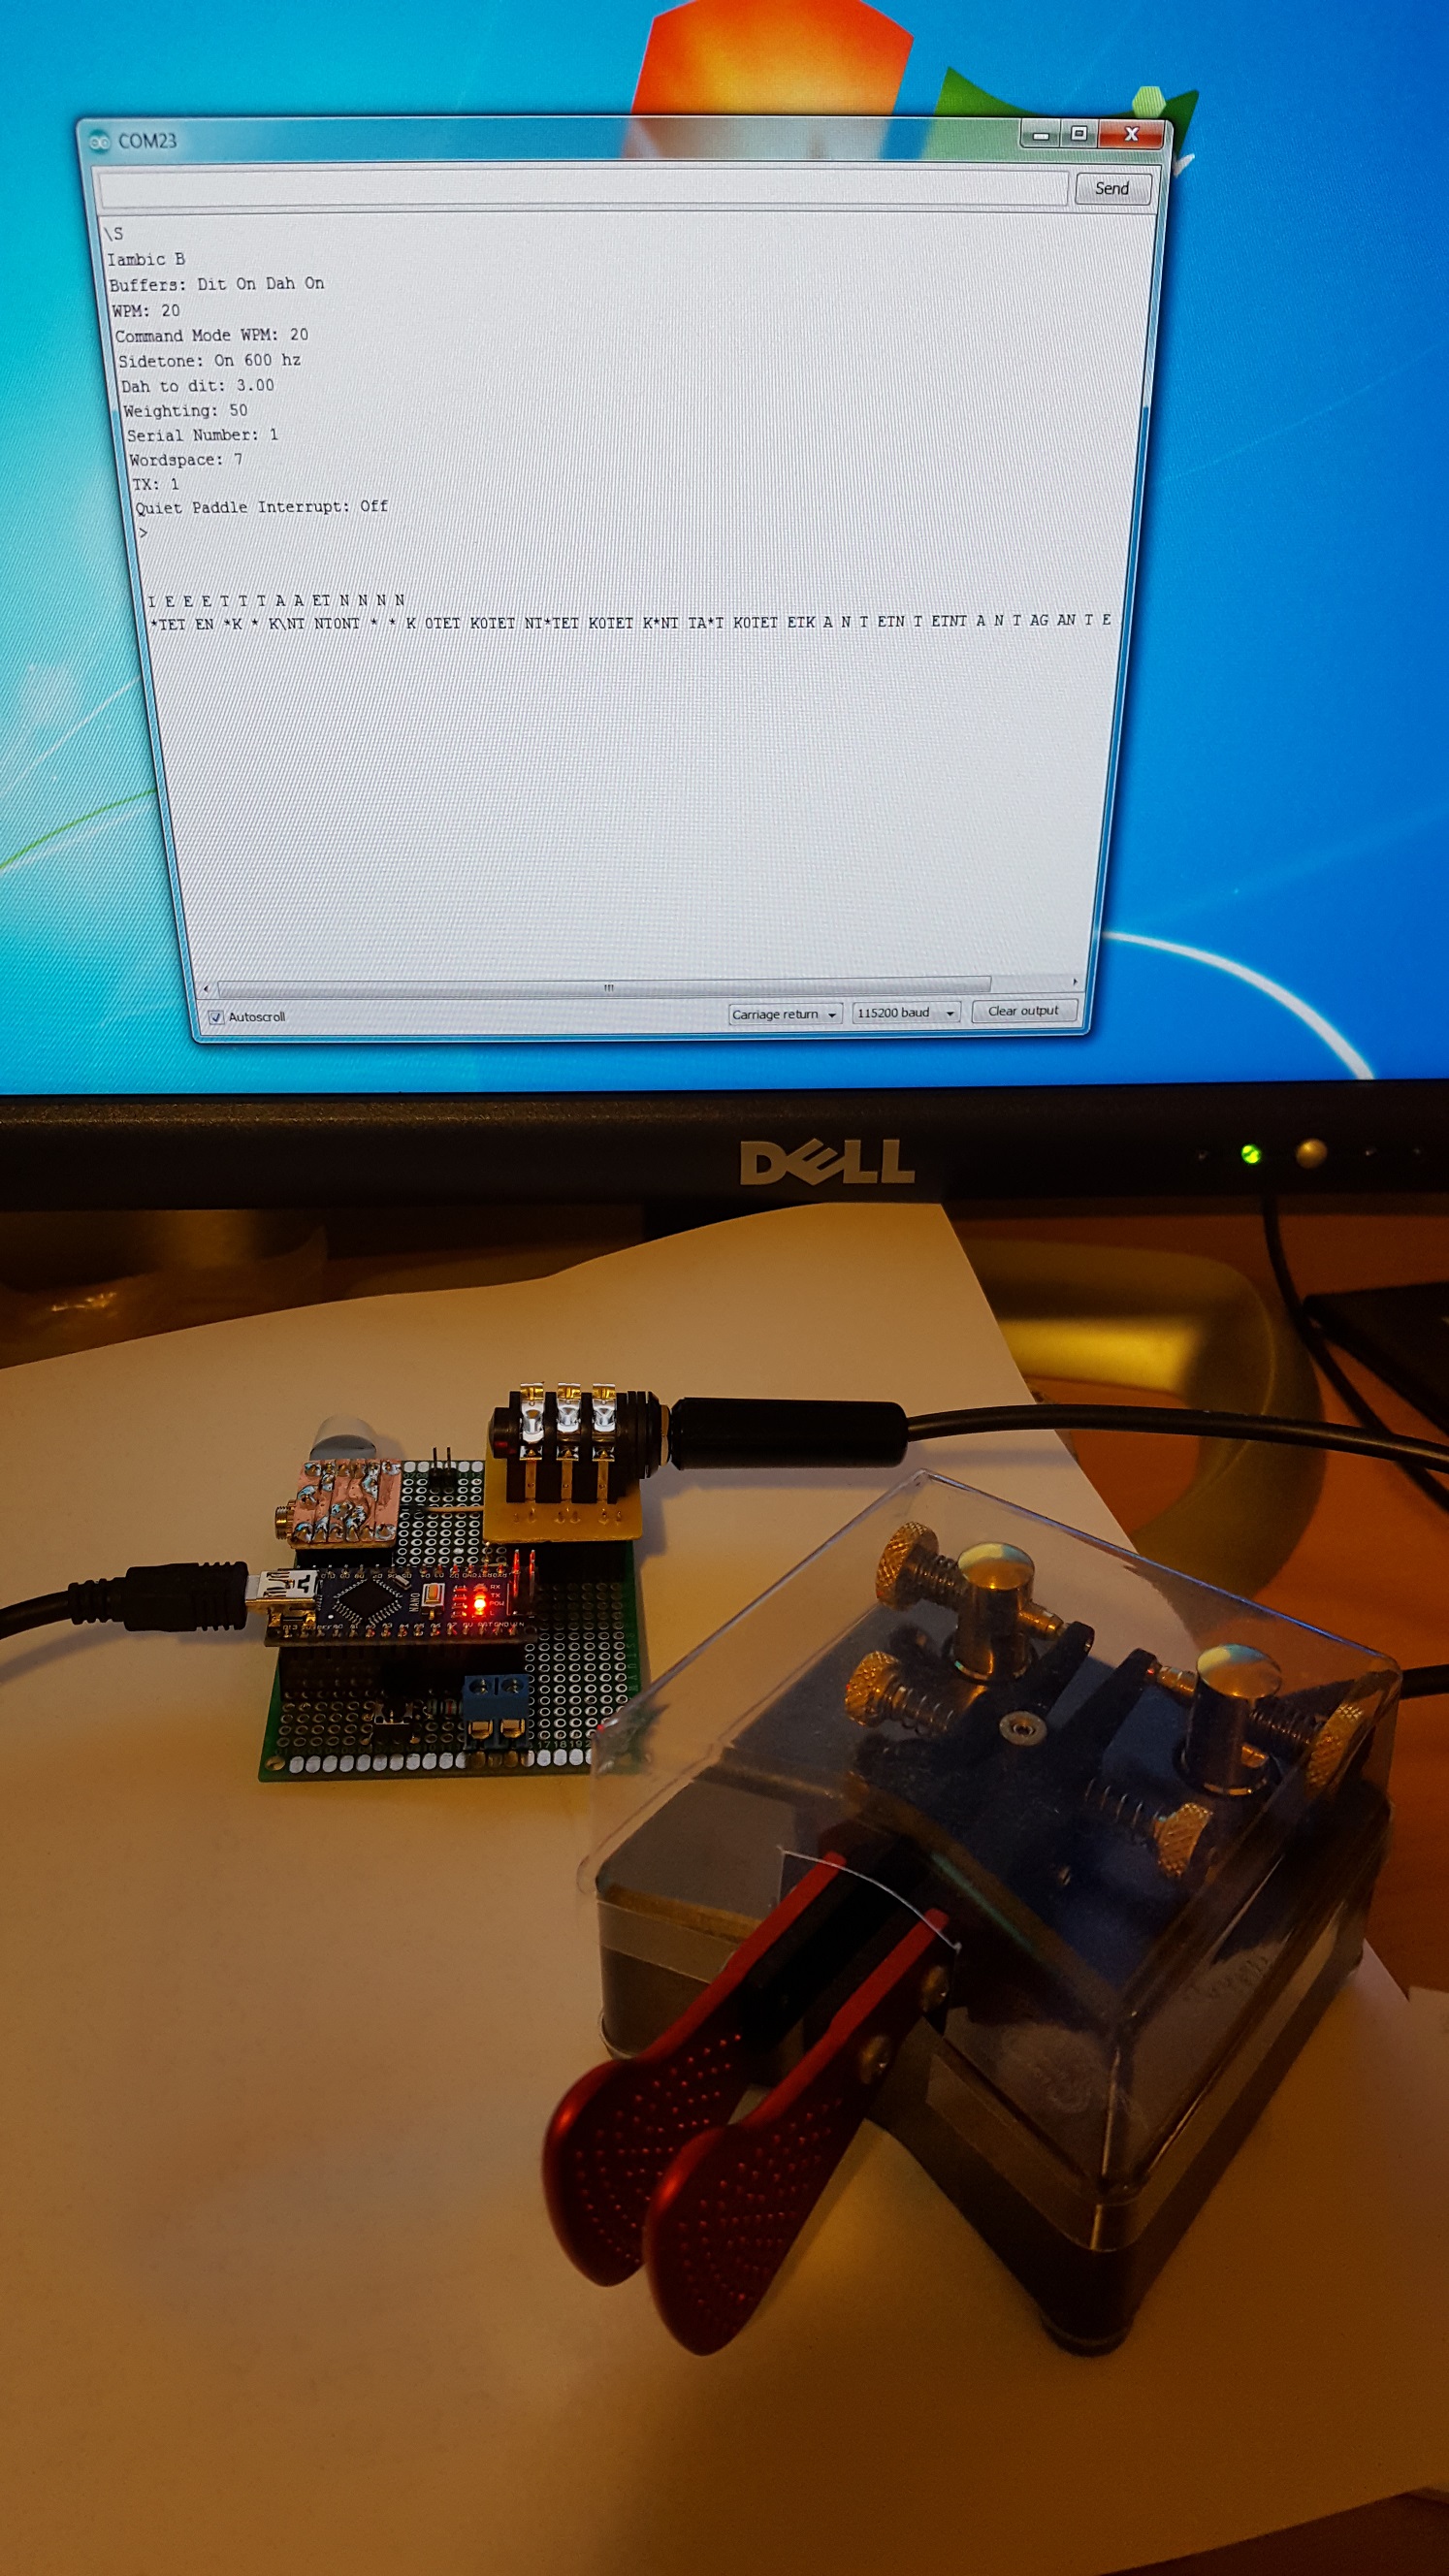
Anthony (K3NG) has created the feature rich keyer software that I've been using as well.
To build the sketch I use the following settings:
Software link: https://github.com/k3ng/k3ng_cw_keyer
Any serial terminal application works on your computer. On windows I've been using Arduino IDE's Serial monitor and Putty with the following settings: